
Using zip ties, secure the petals to each other. Ensure that the ribbed side of the zip ties faces up, and tuck any excess ends between the noodles to prevent scratches.
Step 4: Creating the Flower Center
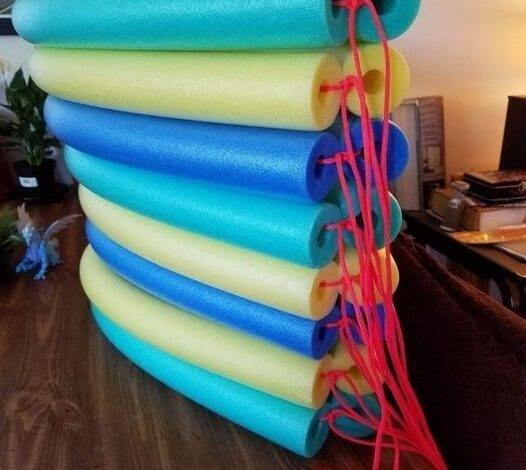
Take the left end of the cord from one noodle and tie it to the right end of the cord from the adjacent noodle.
Continue this knotting technique around the circle, connecting the left and right ends of the cord for each noodle.
Repeat the process for a second row of knots, and then a third and fourth row. As you progress, the circle will gradually shrink, resembling the center of a flower.
Step 5: Finishing Touches
If any cord strands are sticking out from the top of the pool float, thread them through the center hole and secure them tightly using a zip tie.
Your pool noodle flower float is now ready! Simply toss it into the pool and enjoy a relaxing and whimsical float.
Frequently Asked Questions (FAQs):
Q1: How many pool noodles do I need for this project? A1: You will need a total of seven pool noodles to create the flower float.
Q2: Can I use different colors of pool noodles? A2: Absolutely! Feel free to use a combination of colors that suits your preferences.
Q3: Are zip ties necessary for securing the petals? A3: Yes, zip ties are recommended for a secure and durable hold.
Q4:
Continue Reading in next page
