- Pour the heavy cream into a mixing bowl or stand mixer.
- Using a medium-high speed, whip the cream. First, it will turn into whipped cream. Continue whipping until the cream separates into butter solids and buttermilk (this takes about 5–10 minutes).
Step 2: Separate Butter and Buttermilk
- Pour the mixture through a fine mesh strainer or cheesecloth to separate the buttermilk from the butter. Save the buttermilk—it’s perfect for pancakes, baking, or cooking!
Step 3: Wash the Butter
- Rinse the butter under cold water to remove any remaining buttermilk. This step helps the butter stay fresh longer.
- Use a spatula or your hands to press the butter and squeeze out as much liquid as possible.
Step 4: Season and Shape
- If desired, mix in a pinch of salt or other flavorings (like garlic, herbs, or honey) to create a flavored butter.
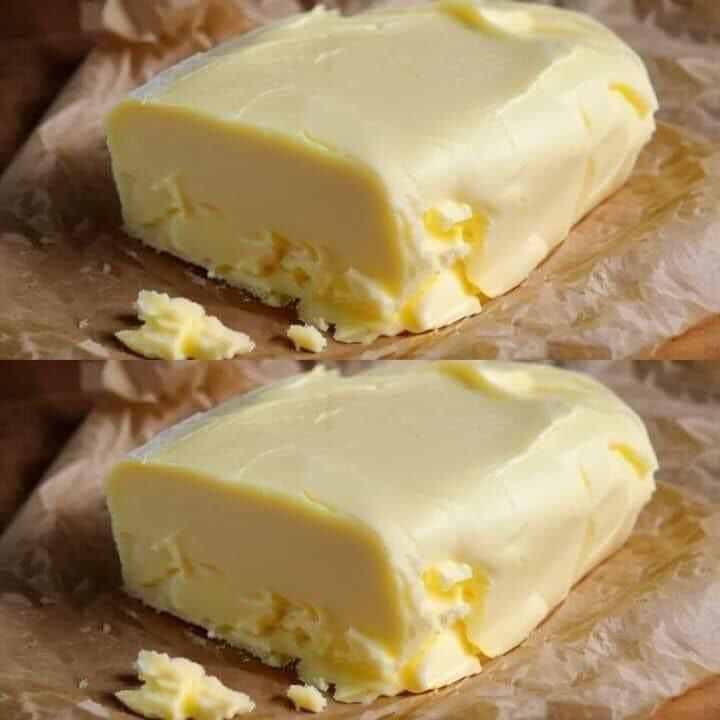
- Shape the butter into a block using parchment paper or place it in a container for storage.
Tips for the Best Butter
- Use High-Quality Cream: The quality of your cream determines the flavor and texture of your butter. Organic or grass-fed cream provides the best results.
- Room Temperature Cream: Let the cream sit at room temperature before whipping for faster butter formation.
- Experiment with Flavors: Add your favorite herbs, spices, or even a drizzle of honey for a gourmet twist.
Storage
- Refrigerate: Store your butter in an airtight container or wrapped in parchment paper. It will stay fresh for up to 2 weeks.
- Freeze: Butter can be frozen for up to 3 months. Just portion it into small amounts before freezing for easy use.
Why You’ll Love Homemade Butter
- Customizable: Tailor it to your taste with flavors or adjust the salt level.
- Versatile: Use it for cooking, baking, or as a spread.
- Satisfying: The process is simple yet rewarding, leaving you with a sense of accomplishment and delicious results.
Final Thoughts
Making butter at home is an enjoyable way to embrace your inner chef while crafting a healthier, fresher alternative to store-bought options. With just one ingredient and a little effort, you’ll have rich, creamy butter perfect for toast, recipes, or even gifting. Try this simple method, and you might never go back to store-bought butter again. Happy butter-making! 🎉
Pages: 1 2

