
Ingredients: What You Need for Perfect Caramel Icing
Before we dive into the cooking process, let’s take a look at the ingredients you’ll need. The great thing about this recipe is that it uses simple, everyday ingredients that you probably already have in your kitchen.
3 cups sugar
1 1/3 cups milk
1 1/2 sticks cold butter
5 tbsp sugar
These four ingredients come together to create a magical icing that is both rich and creamy. Now, let’s move on to the actual preparation.
Step-by-Step Guide to Making Old-Fashioned Caramel Icing
Step 1: Heating the Sugar and Milk
First things first, you’ll need to combine the 3 cups of sugar and 1 1/3 cups of milk in a large saucepan. Heat the mixture over medium heat, stirring constantly to ensure that the sugar dissolves completely. This step is crucial because you want a smooth, lump-free base for your caramel icing.
Step 2: Caramelizing the Sugar
While the sugar and milk are heating, it’s time to caramelize the additional 5 tablespoons of sugar in a separate skillet. This step is where the magic happens. Place the sugar in the skillet and heat it over medium-high heat, stirring constantly until it melts and turns a deep amber color. Be careful not to burn it, as burnt sugar can add an unpleasant bitterness to your icing.
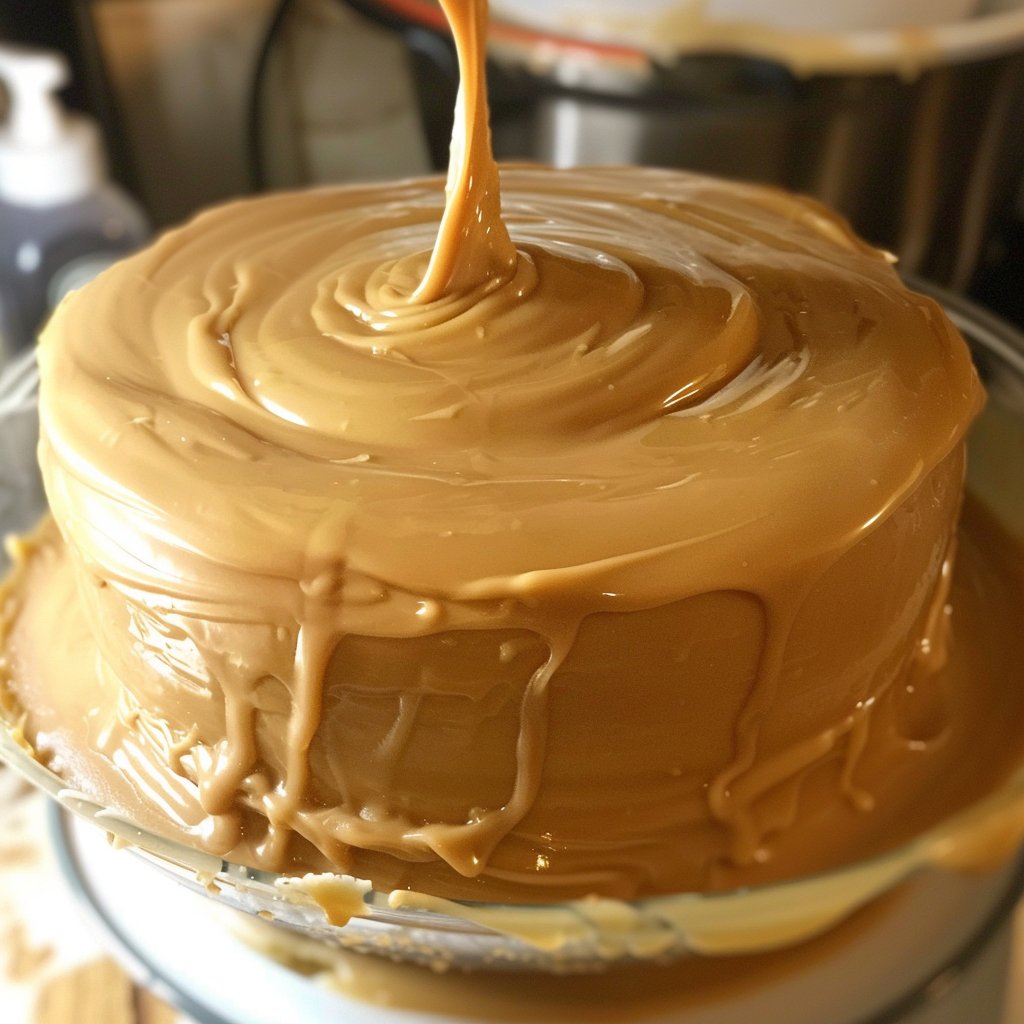
Step 3: Combining the Caramel with the Milk Mixture
Once the sugar has caramelized, carefully pour it into the hot milk mixture. Be cautious as the mixture may bubble up and splatter. Stir well to combine, and then continue to cook the mixture for about 15 minutes, or until it reaches the soft ball stage (235-240°F on a candy thermometer). This stage is crucial for achieving the right consistency for your icing.
The Secret to Achieving the Perfect Consistency
Understanding the Soft Ball Stage
The soft ball stage is a critical point in candy-making and icing preparation. At this stage, the sugar mixture will form a soft, malleable ball when dropped into cold water. This ensures that your icing will be thick enough to spread but still soft and creamy.
Tips for Success
To ensure that you reach the soft ball stage, use a reliable candy thermometer. It takes the guesswork out of the equation and ensures that your icing will turn out perfectly every time. Also, make sure to stir the mixture constantly to prevent it from burning or sticking to the bottom of the pan.
Adding the Butter: The Final Touch
Why Cold Butter Matters
Once your mixture has reached the soft ball stage, it’s time to add the cold butter. The cold butter helps to cool down the mixture and adds a rich, creamy texture to the icing. Cut the butter into small pieces and add them to the hot mixture, stirring until the butter is completely melted and the icing is smooth and spreadable.
Mixing Until Smooth
This step is all about patience. Keep stirring until the butter is fully incorporated and the icing is smooth and glossy. This may take a few minutes, but the result is well worth the effort.
How to Use Old-Fashioned Caramel Icing
Perfect Pairings
Now that you have your delicious old-fashioned caramel icing, it’s time to put it to good use. This icing pairs beautifully with a variety of cakes, but here are a few of our favorite combinations:
Classic Vanilla Cake: The rich caramel flavor complements the light, fluffy texture of a vanilla cake perfectly.
Chocolate Cake: The deep, intense flavor of chocolate pairs wonderfully with the sweet, nutty notes of caramel.
Spice Cake: The warm spices in a spice cake are enhanced by the rich, creamy caramel icing.
Creative Uses
Don’t limit yourself to just cakes! This icing is incredibly versatile and can be used in a variety of ways. Try using it as a filling for cupcakes, a topping for cookies, or even as a dip for fruit. The possibilities are endless!
Storing and Reheating Your Caramel Icing
Proper Storage
If you have any leftover icing (which is rare because it’s so delicious!), you can store it in an airtight container in the refrigerator for up to a week. Make sure to let it cool completely before storing it.
Reheating Tips
When you’re ready to use your icing again, simply reheat it in the microwave or on the stovetop over low heat. Stir continuously until the icing is smooth and spreadable. If the icing is too thick, you can add a splash of milk to thin it out.
Troubleshooting Common Issues
Grainy Texture
If your caramel icing turns out grainy, it could be due to undissolved sugar crystals. To avoid this, make sure to stir the sugar and milk mixture constantly until the sugar is completely dissolved. Using a candy thermometer can also help ensure that you reach the correct temperature.
Too Thick or Too Thin
If your icing is too thick, you can thin it out by adding a small amount of milk and stirring until it reaches the desired consistency. If it’s too thin, you can cook it a bit longer until it thickens up.
Frequently Asked Questions
Can I Use a Different Type of Milk?
Yes, you can use different types of milk, such as whole milk, 2%, or even non-dairy alternatives like almond or coconut milk. Keep in mind that the flavor and texture may vary slightly depending on the type of milk you use.
Can I Make This Icing Ahead of Time?
Absolutely! You can make the caramel icing ahead of time and store it in the refrigerator for up to a week. Just make sure to reheat it before using it to achieve the perfect spreadable consistency.
Is This Icing Gluten-Free?
Yes, this old-fashioned caramel icing recipe is gluten-free, making it a great option for those with gluten sensitivities or celiac disease.
Conclusion: The Sweet Reward
There you have it – a step-by-step guide to making the most delectable old-fashioned caramel icing! This icing is sure to impress your family and friends and elevate any dessert to new heights. So, what are you waiting for? Give this recipe a try and experience the magic of homemade caramel icing. Happy baking!
