
Instructions
Making the Honeycomb
Prepare the Pan: Line a baking sheet with parchment paper and set aside.
Cook the Sugar: In a large saucepan, combine the sugar, honey, and water. Cook over medium heat, stirring until the sugar dissolves. Increase the heat to medium-high and cook without stirring until the mixture reaches a golden amber color, about 5-7 minutes.
Add Baking Soda: Remove the pan from heat and quickly whisk in the baking soda. The mixture will bubble up rapidly.
Cool the Honeycomb: Pour the mixture onto the prepared baking sheet and let it cool completely. Once cooled, break it into small pieces and set aside.
Preparing the Cheesecake Crust
Combine Ingredients: In a medium bowl, mix the graham cracker crumbs, sugar, and melted butter until well combined.
Form the Crust: Press the mixture firmly into the bottom of a 9-inch springform pan. Use the back of a spoon to smooth the surface. Chill the crust in the refrigerator while preparing the filling.
Making the Cheesecake Filling
Preheat the Oven: Preheat your oven to 325°F (160°C).
Beat the Cream Cheese: In a large mixing bowl, beat the cream cheese with an electric mixer until smooth and creamy.
Add Sugar and Sour Cream: Gradually add the sugar, sour cream, and vanilla extract, beating until well combined.
Incorporate the Eggs: Add the eggs one at a time, beating well after each addition.
Combine with Honeycomb: Gently fold half of the honeycomb pieces into the cheesecake batter.
Baking the Cheesecake
Pour the Batter: Pour the cheesecake batter over the chilled crust, smoothing the top with a spatula.
Bake: Place the springform pan in a larger baking dish filled with about 1 inch of hot water (water bath method). Bake for 55-65 minutes, or until the center is set but still slightly jiggly.
Cool: Turn off the oven and crack the door open. Let the cheesecake cool in the oven for 1 hour before transferring it to the refrigerator. Chill for at least 4 hours or overnight.
Finishing Touches
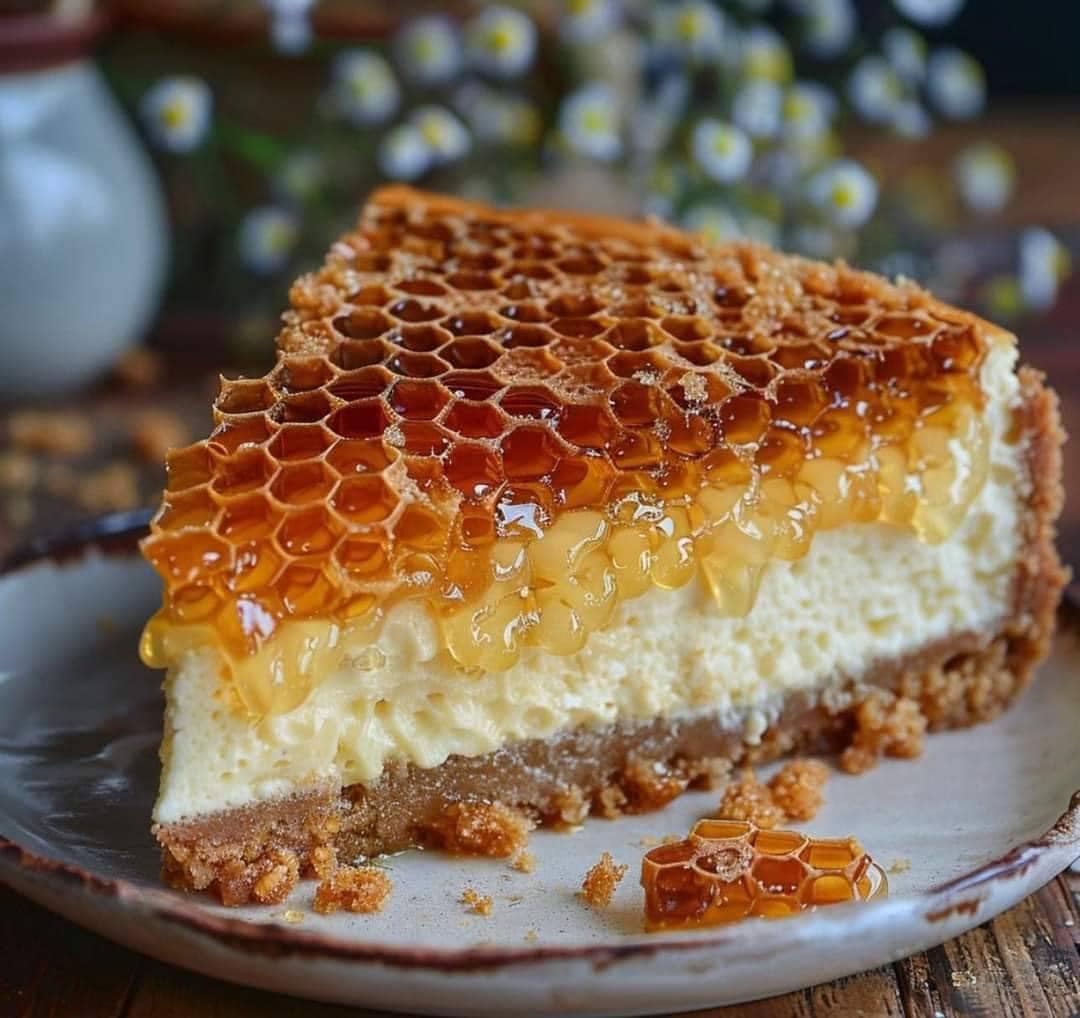
Garnish with Honeycomb: Before serving, sprinkle the remaining honeycomb pieces over the top of the cheesecake.
Serve: Slice and serve your beautiful honeycomb cheesecake, admiring the combination of creamy and crunchy textures.
Tips for Perfect Honeycomb Cheesecake
Watch the Caramel: When making the honeycomb, keep a close eye on the caramel as it can go from golden to burnt very quickly.
Room Temperature Ingredients: Ensure the cream cheese and eggs are at room temperature before mixing. This helps achieve a smooth, lump-free filling.
Water Bath: Baking the cheesecake in a water bath helps prevent cracks by providing even heat distribution and maintaining a moist environment.
Cooling: Allowing the cheesecake to cool gradually in the oven and then in the refrigerator helps prevent cracks and ensures a smooth texture.
Frequently Asked Questions
Can I use store-bought honeycomb?
Yes, if you’re short on time or prefer not to make honeycomb from scratch, you can use store-bought honeycomb candy.
How do I store the cheesecake?
Store the cheesecake in an airtight container in the refrigerator for up to 5 days. The honeycomb will soften over time but will still be delicious.
Can I freeze the cheesecake?
Yes, you can freeze the cheesecake without the honeycomb topping. Wrap it tightly in plastic wrap and aluminum foil, then freeze for up to 3 months. Thaw in the refrigerator overnight and add the honeycomb before serving.
What if my cheesecake cracks?
If your cheesecake cracks, you can cover the cracks with the honeycomb pieces or a layer of whipped cream. Cracks won’t affect the taste, just the appearance.
Can I use a different type of crust?
Absolutely! A chocolate cookie crust or a nut-based crust can be a delicious variation.
Conclusion
This Honeycomb Cheesecake is not only a feast for the eyes but also a treat for the taste buds. With its rich, creamy filling and delightful honeycomb crunch, it’s a dessert that will leave a lasting impression. Perfect for any special occasion, this cheesecake is a testament to the art of baking. Enjoy!
