
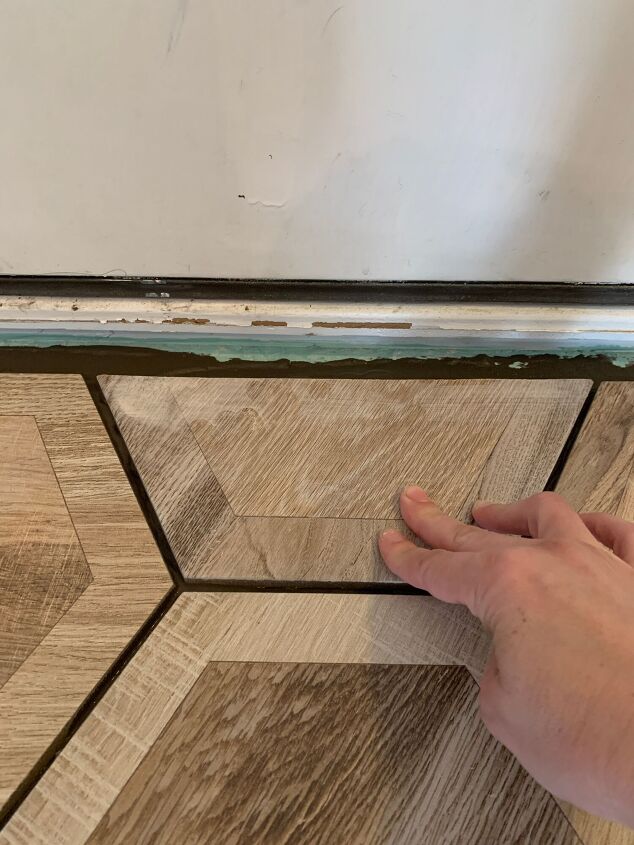
From there, I picked which tiles looked best next to each other and put them in place, making sure they were spaced evenly for grout lines. If some mortar oozed up between the tiles, I made sure to wipe it out so it wouldn’t be too high and show up through the grout.
With all my whole tiles in place, I took the last tile out to my garage and used a tile saw to cut it in half. (You can rent a tile saw for pretty cheap.) This was easy enough, and then I put both cut pieces where they needed to go to complete the puzzle.
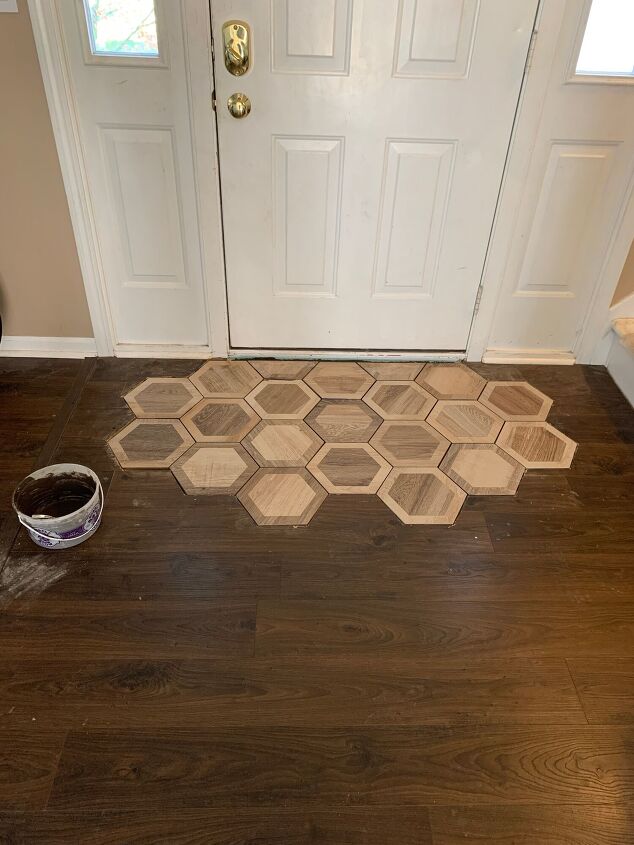
After that, I babysat the tiles for a few hours to make sure no dogs, cats, or children stepped on the tiles and messed them up. This is largely the reason I use rapid-setting mortar! Once I could push on a tile and it didn’t budge, I stopped worrying and left the tiles to set overnight.
Step 5: Grout. The next day, I used the same grout for this entry as I did for our kitchen. I don’t really have any quick tips for grout – it takes a bit of patience, which I often don’t have. 😜 Basically, I mixed it up in another bucket and then glopped it on, wiping it back and forth over the spaces between tiles until all the gaps were filled. Sometimes it will look like a gap is filled, but be sure to go over the grout lines from another angle to be sure there’s not a secret pocket of air under there waiting to ruin your day.
Continue Reading in next page
