
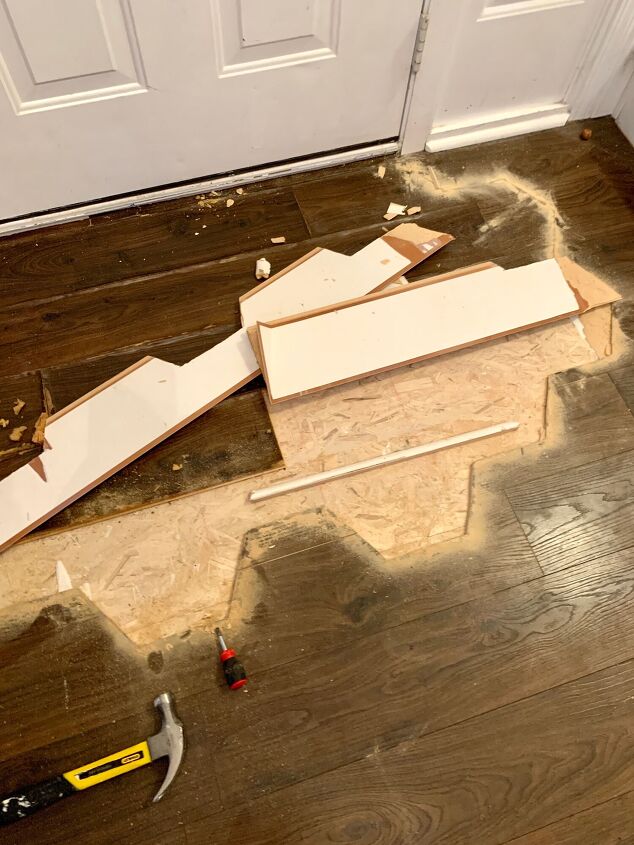
Once my cutting was complete, I used a hammer and pried up one of the boards along my cut line. From there, it was easy to disassemble and remove the flooring – like taking apart a puzzle. I had a garbage bag ready nearby, so I shoved the old flooring into the bag, swept up any debris, and hauled the bag out to the trash. So long, ruined floor!
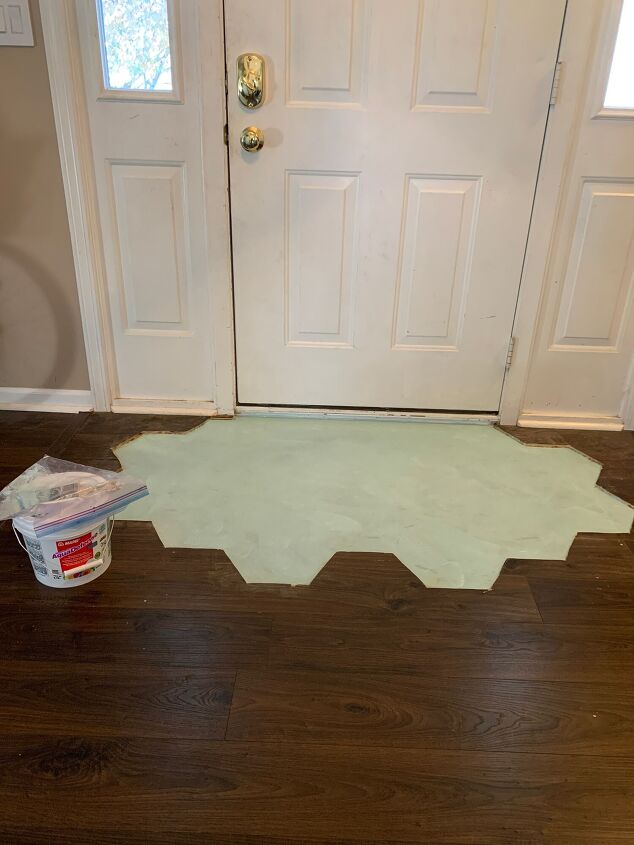
Step 3: Apply waterproofing. In my kitchen, I’d covered the whole space with Schluter Ditra membrane for total waterproofing. But, that was a bit expensive and seemed overkill for just a little entry space. As an alternative, I had some scrap Schluter Kerdi membrane (much thinner and cheaper) and a lot of liquid membrane left from my bathroom remodel, so I decided to try laying down the Kerdi and then applying a few coats of the liquid membrane on top of that.
After sweeping and making sure the floor was clean, I spread the Kerdi over the space, grabbed a disposable brush, and painted on the AquaDefense. It went on nice and thick, acted a bit like glue to hold the Kerdi in place, and I only had to wait about an hour between coats. Did I have to do 2 coats? Probably not, but I liked getting the surface nice and even.
I did make sure to get under the door waterproofed. The quarter-round that had been there before obviously had not offered much protection and had been damaged by moisture, so I wanted to be sure this spot was protected should moisture get there again.
Step 4: Mix mortar and lay tile. See how quickly this project got to the fun part?! Once the AquaDefense was dry, I got an old ice cream bucket and a paint stir stick. Yep, nothing but professional tools around here. 😜 I used rapid-setting thin set mortar, but follow the mixing instructions of whatever kind you use. One trick I’ve found is that it helps to add some water first, then pour in the mortar, then add more water as needed – this makes it much easier to stir up and get an even consistency faster. Once mine was mixed, I saw that I’d only filled the bucket about a quarter full, and this made plenty of mortar for my space.
Because it was such a small area, I simply poured the mortar in a puddle and then spread it around with my stir stick until I had an even level of mortar all over. The idea is to get it not too thick, but enough to cover the floor so you can’t see what’s under it – this was easy to see since my AquaDefense underneath was blue!
As soon as my mortar was down, I started bringing over my tiles and put them in place one at a time. I started with my top right tile that went against the door/wall in my cut-out space. This tile I made sure to press down and wiggle a bit to stick in the mortar, plus I made sure there was a bit of space between the tile and the cut flooring – like a grout line.
Continue Reading in next page
