
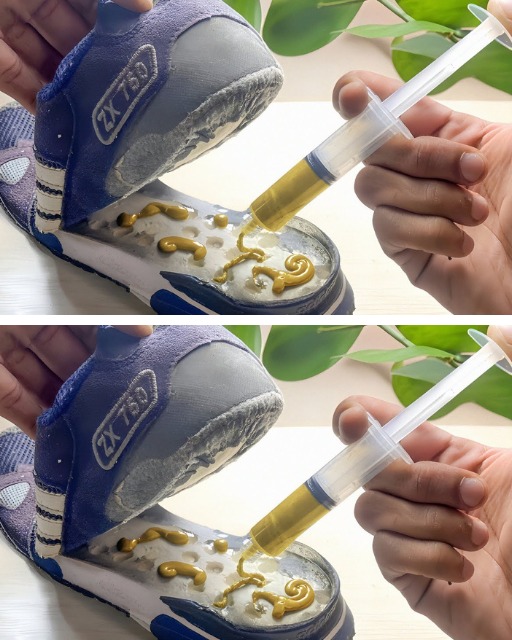
Shows the preparation of yellow glue and its application using a syringe.
3: Application on the sole of the shoe:
Explains how to apply glue to the sole of the shoe.
4: Wait 2-3 hours:
After applying the glue, suggest waiting 2 to 3 hours to allow it to dry and adhere properly.
5: Strength test on plywood:
Perform a strength test on two pieces of plywood to test the strength of the glue.
6: Gluing the two parts of the shoe:
After the test on wood, it shows how to join the two parts of the shoe after the glue has dried.
7: Resistance test on shoes:
Perform a strength test on the newly repaired shoes using a heavy wooden chair.
Conclusion:
It highlights the surprising resistance of yellow glue and encourages you to try this idea for long-lasting and powerful repairs.
These neat steps will guide you through the process of preparing and applying glue to achieve strong, long-lasting repairs on shoes and other materials.
IMPORTANT:
Important clarification to understand the type of glue being talked about in this informative article:
Yellow contact glue:
Continue Reading in next page
