
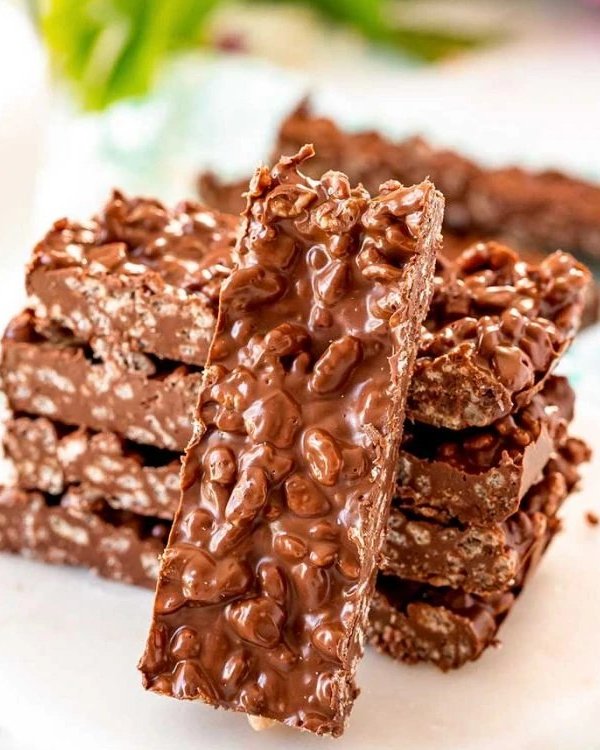
Let the crunch bars cool to room temperature first. Chilling the bars while the chocolate is still hot will cause the chocolate to change to a darker color.
Store bars in an airtight container in the fridge. If stacking the bars in their container, separate each layer with wax or parchment paper.
Once stored, these bars should last up to two weeks.
CAN YOU FREEZE CRUNCH BARS?
Yes, you totally can freeze homemade Crunch bars! Here’s how to do it:
Wrap each bar individually in plastic wrap to prevent sticking and freezer burn.
Place the wrapped bars in a freezer bag or airtight container.
Crunch bars can be frozen for up to 1-2 months.
Note: To thaw, simply leave them out at room temperature for about 15 minutes before serving. They should return to their original texture and be ready to enjoy!

HOW DO YOU MAKE CRUNCH BARS?
This next part is only a photo tutorial of the recipe steps. If you’re looking for the full recipe measurements and instructions, scroll down to Recipe Details.
Step 1 – Before you get started, prepare an 8×8 baking dish by covering the bottom and sides with parchment paper. Make sure the parchment paper sticks over the edges of the pan a little – you’ll use these edges to lift the candy bar mixture out of the pan later on.
Step 2 – In a microwave-safe bowl, toss in the chocolate and coconut oil. Heat the ingredients in the microwave 30 seconds at a time, stirring between each one, until the ingredients are melted and combined.


Step 3
Continue Reading in next page
