
This ingredient aids in melting the chocolate and gives a slight hint of coconut flavor. It also helps in achieving a smooth and glossy finish for the chocolate layer.
Salt: A pinch of salt is a clever addition to enhance the chocolate flavor. It balances the sweetness and adds a subtle complexity to the taste of your crunch bars.
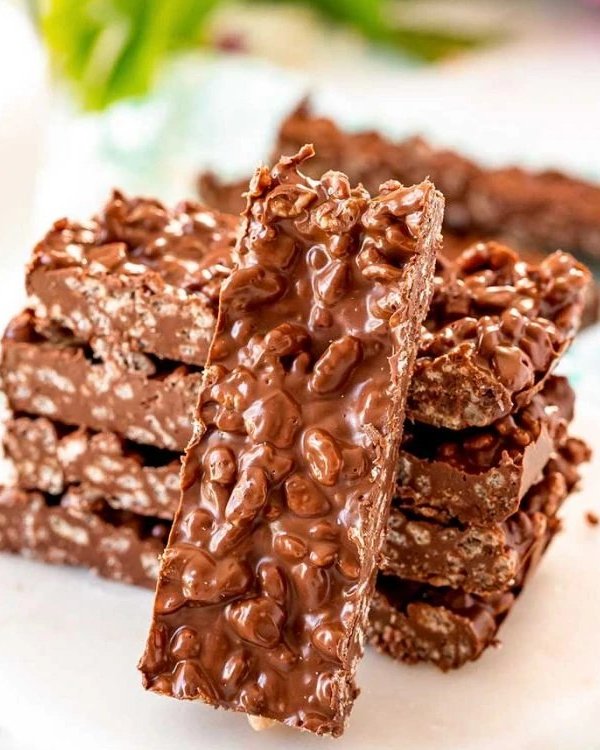
Rice Krispies Cereal: The star ingredient for the ‘crunch’! These puffed rice cereals add a light and airy texture to the bars, creating a delightful contrast with the creamy chocolate.
WHAT DO YOU NEED TO MAKE CRUNCH BARS?
The best recipes are always the easiest, and that’s the case with these homemade crunch bars. To whip up a batch, you’ll need:
A microwave-safe mixing bowl, for heating up the ingredients.
A spatula or whisk.
An 8×8 baking dish. You can use other sizes, but the bigger the dish, the flatter the bars will be, making them difficult to cut and keep their shape.
Parchment paper, for lining the baking dish and making it easy to remove the candy bars.

CAN YOU USE OTHER TYPES OF CHOCOLATE?
This recipe calls for milk chocolate, as that is the same type of chocolate that Nestle Crunch Bars are made with.
However, you can also experiment with semi-sweet or dark chocolate, if you like those flavors more. You could even try white chocolate.

HOW LONG DO HOMEMADE CRUNCH BARS LAST?
There’s very little moisture in these bars, so they will last a while – however, it is best if they are stored in a sealed container in the refrigerator. This will keep the chocolate from becoming soft or oily at room temperature.
To store crunch bars:
Continue Reading in next page
