

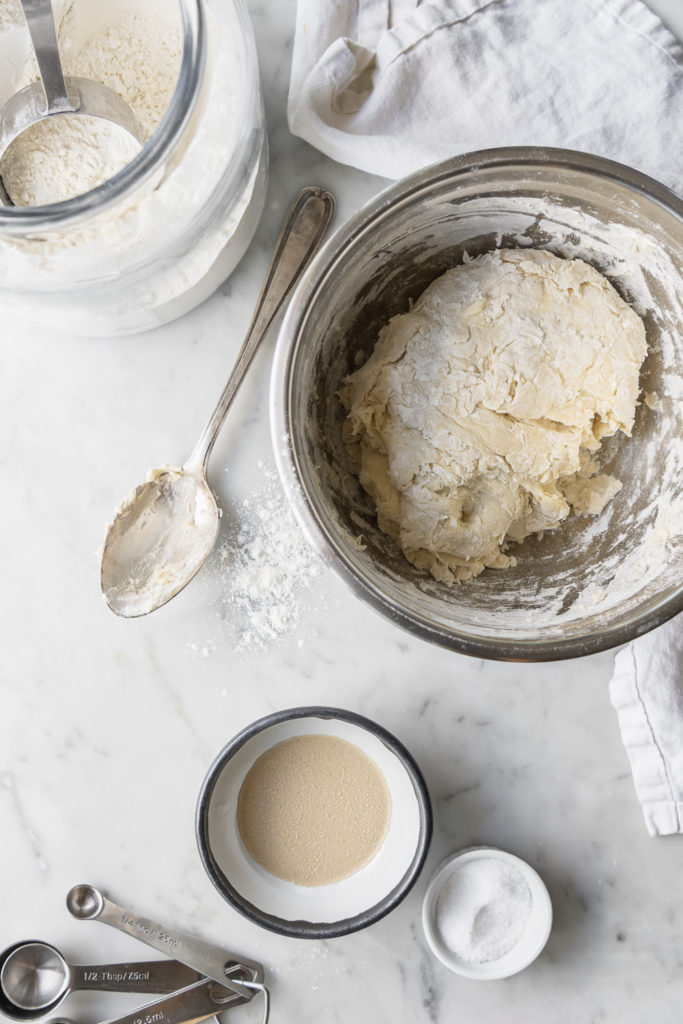
The high hydration dough is a huge part of what makes this crust so chewy, crispy and delicious– but it takes some getting used to. It’s a wet, slack, sticky dough that may be a far cry from what you usually work with.
Once you learn how to handle it (and taste the finished pizza), I promise you won’t look back to the denser doughs you’ve made in the past. Here’s what I’ve found to be the most helpful:
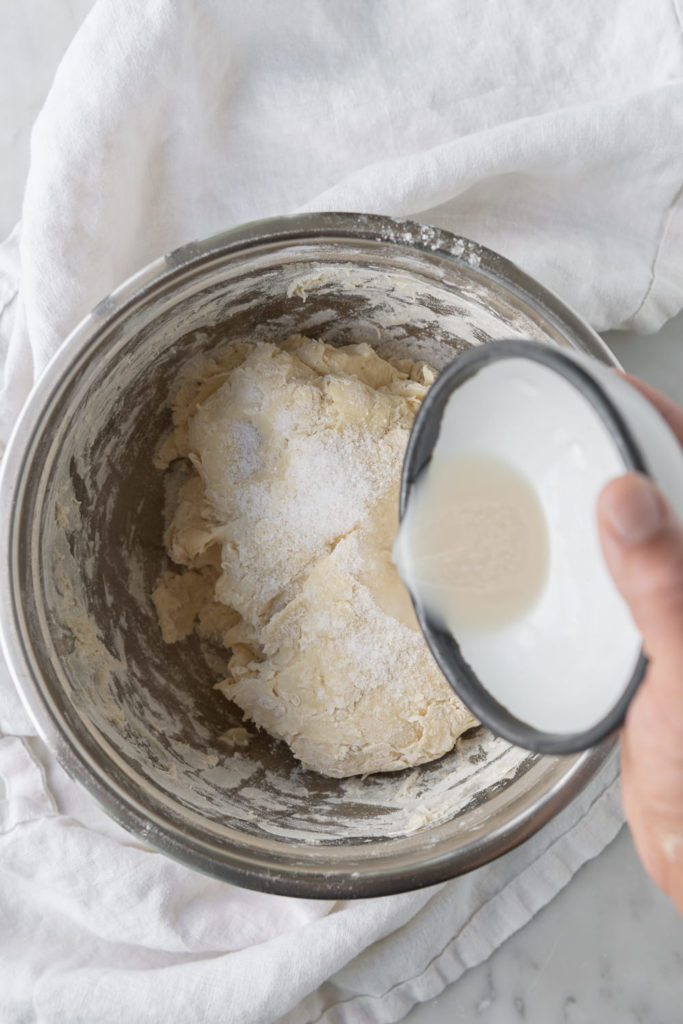
Lightly wet your hand when you’re initially mixing the dough and performing the fold. This will minimize sticking and make the process much easier.
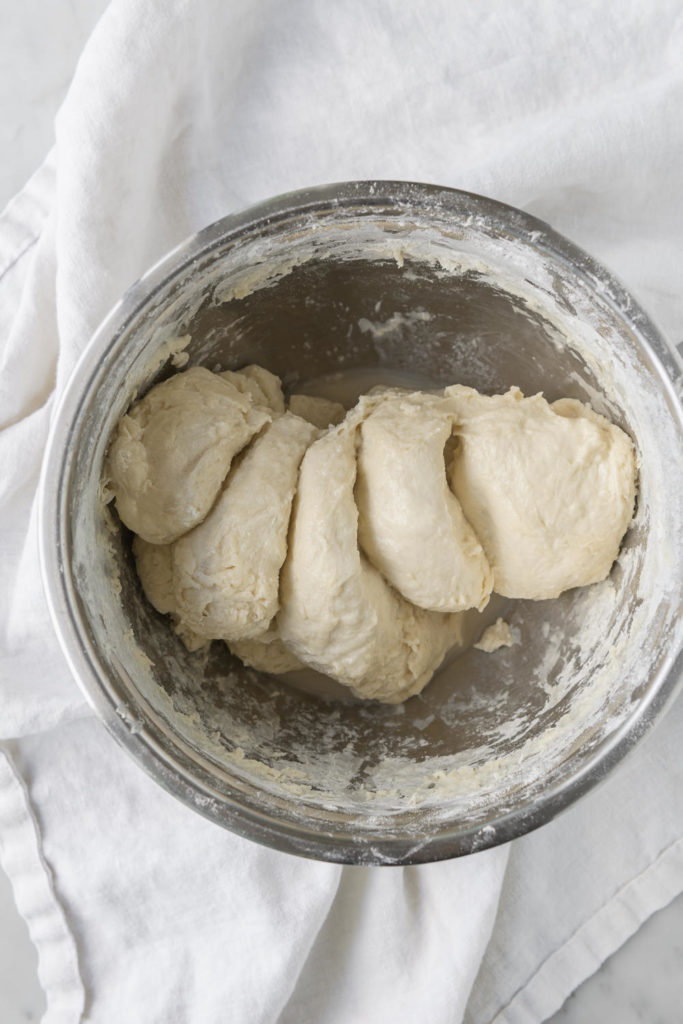
The dough is “folded” one time, about an hour after mixing, to develop the gluten and give the dough some structure. No kneading in the traditional sense is performed.
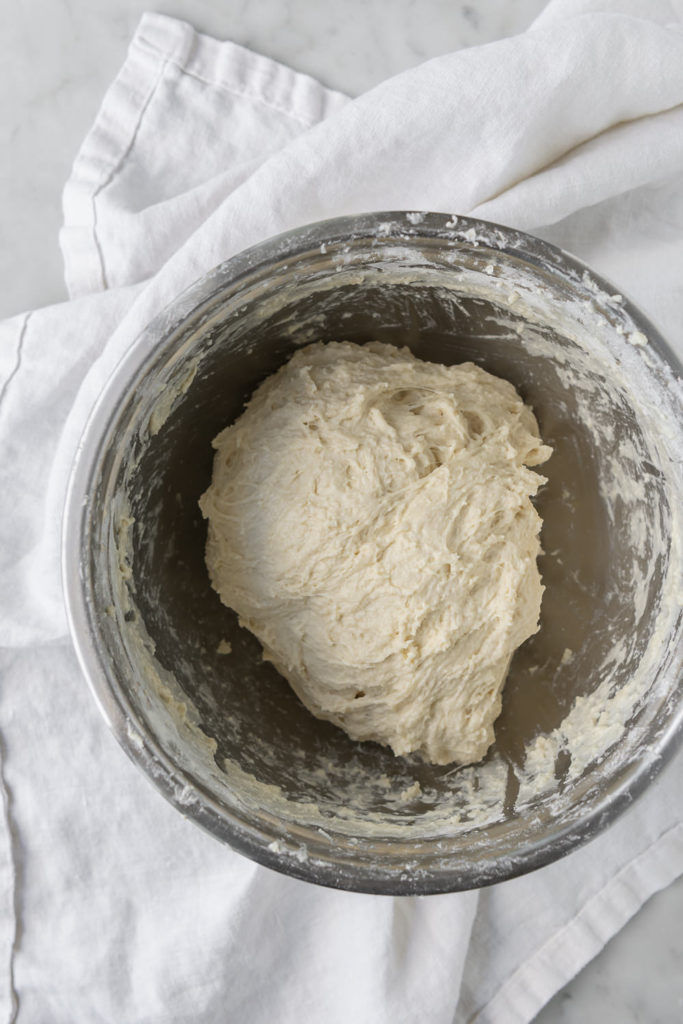
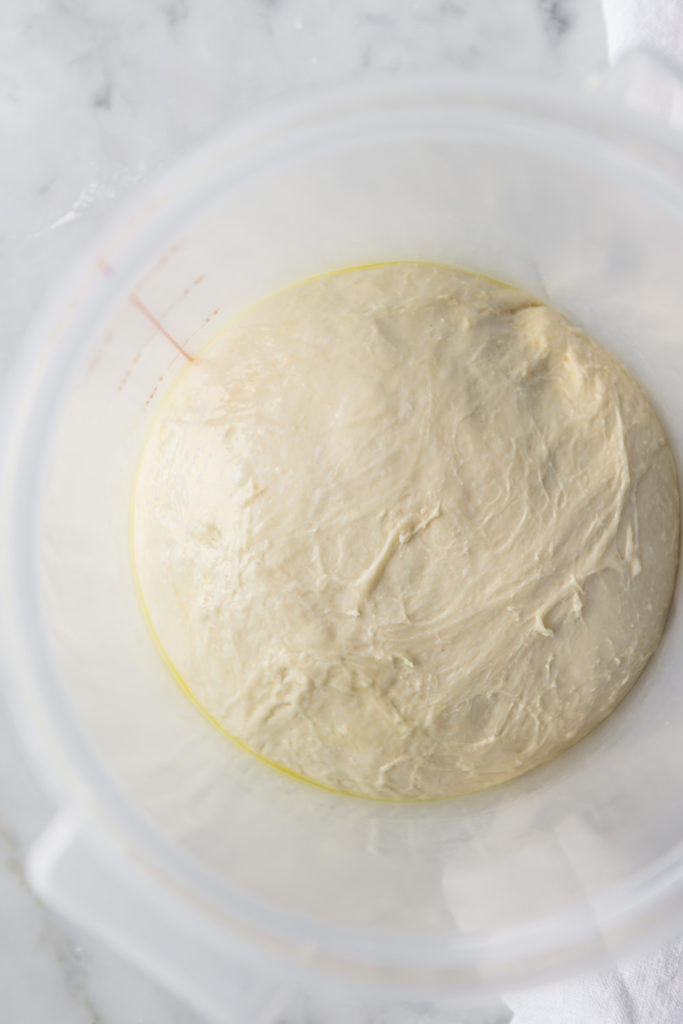
Lightly grease the bulk fermentation container to prevent sticking. Also make sure to lightly grease the shaped dough balls and the plate they’re stored on. This prevents a dry, tough skin from forming on the dough as it proofs, and it also minimizes sticking (especially if you plan on refrigerating the dough for a day or two).
Water temperature and ambient temperature play a very important role in the timing of the bulk fermentation. Cooler temperatures cause a slower fermentation and a longer rise time, while the opposite is true for warm temperatures. In general, it’s best to watch the dough rather than the clock. Follow the loose timing guideline in the recipe, but make decisions based on how the dough is rising in your specific environment. To learn more about manipulating temperatures and to hone your bread skills, I highly suggest reading Flour Water Salt Yeast by Ken Forkish. I’ve adapted his bread techniques here and in a number of my favorite bread recipes– he’s the king of artisan baking.
Here’s a great video on how to shape the dough into a ball. You want to create enough tension that the ball holds its own shape, but you don’t want to overwork it and lose much of the gas that has built up.
make the best homemade pizza sauce for the ultimate artisan pizza!

HOW TO MAKE THIS ARTISAN PIZZA DOUGH AHEAD OF TIME:
This pizza dough can be made, shaped into a ball and refrigerated for up to 2 days. It couldn’t be easier to make pizza for a crowd when you have your dough all ready to go.
EXAMPLE TIMELINE:
9:00 AM: mix flour and water
9:30 AM: mix in yeast and salt
10:30 AM: fold dough and transfer to lightly oiled container for bulk fermentation
3:30 PM: divide and shape dough into balls. Cover tightly with plastic wrap and refrigerate until ready to use. It could be later that evening for dinner, or anytime in the 2 days that follow. As a bonus, I find the chilled dough is easier to work with!
HOW TO REFRIGERATE PIZZA DOUGH:
Continue Reading in next page
